How To Paint the Walls? Or Learn to Paint Your Walls Like A Pro
Before you start.
Ever wondered how to paint the walls ? Keep reading it.
A fresh coat of paint can make all the difference to the feeling of your room. Even a lick of white paint can have an amazing result, probably much more than you have expected.
If you have not made your mind up on a colour, go and get some tester pots. Don’t choose the colour from the book alone. Do the test patches of your options on to white paper or even better, your walls and don’t forget that colours will look different in the shade compared to direct light and also in artificial lighting. So, test in different areas of the room and take a look in different light before making your decision.
Top tip.
Move your furniture to the centre of the room and cover it all with dust sheets. Cover the floor with suitable floor protection. Mask up all perimeter of skirting boards. That’s the top of your skirting boards we are talking about. But be careful and keep to straight lines. In this way you will save a lot of time and your sanity when cleaning up after painting.
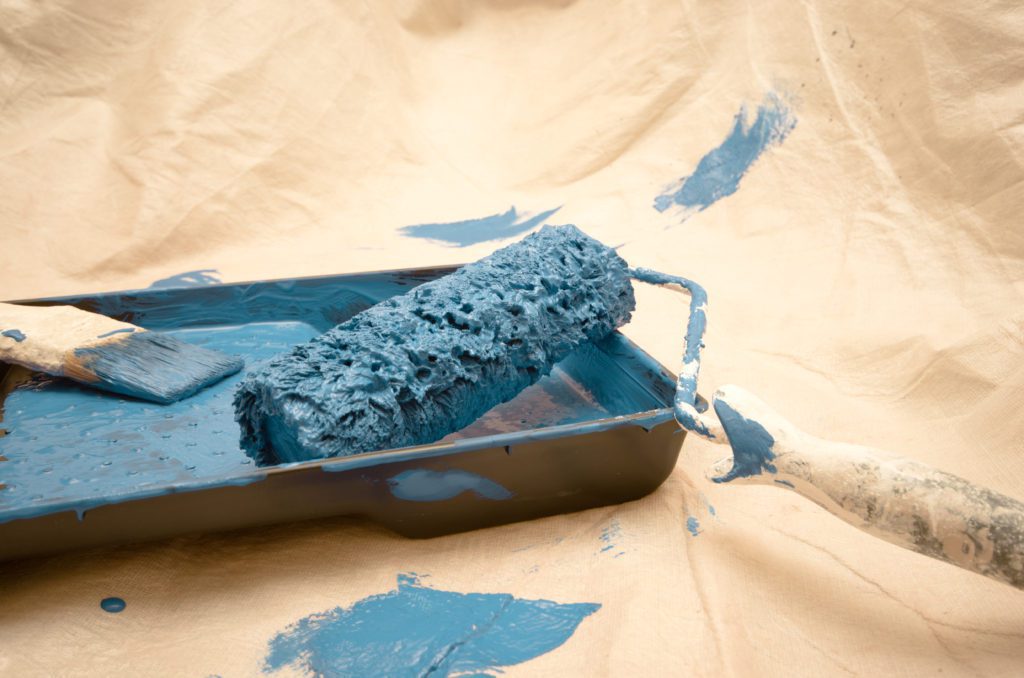
Materials and Tools.
Make sure you buy the quality materials and tools. This way it will be much easier to get the good results. You will need, the filler, decorators caulk, sandpaper of different grades or electrical sanding machines with dust extraction if you want to do it like a pro…, paint brushes of different sizes, large roller, small rad roller, paint scuttles, scuttle liners, masking tapes and of course the paint.
Step 1. Preparation.
Mask up all your switches and sockets, remove blinds or curtains, mask up any other surfaces that you want to protect. Make sure your walls are clean and have no signs of damp. Damp areas should be treated and dried first. Take a close look and remove any loose paint. Rake out any cracks and get them filled at least twice. Leaving enough time to dry between each filling. Get the flood light and fill any imperfections. Leave the filler to dry. Use the mesh tape for major cracks and fill 2-3 times. Start sanding when filler has dried. Use heavier grade sandpaper first and fish with lighter grades. Make sure your walls are dust free before applying any paint. Or use the sanding machines with dust extraction for the best results. We like to sand the entire wall surface after filling and then once or twice again between the coats depending on the condition of plaster.
Step2. Mist coating and stain blocking.
Stir and shake your paint can well. Insert the scuttle liner and pour some paint in your scuttle. Use watered down emulsion paint for mist coating which will act as your primer. 3 to 1 or 4 to 1 ratio should work fine. That’s 3-4 parts of paint we are talking about. Start by painting the higher parts using the brush. We call it cutting in. Cut in the walls where they meet ceiling first, the all the corners, then around windows, door frames and lastly around the skirting boards. Remember, more speed on the brush will mean straighter lines. Get your roller and the extension pole and carefully start rolling the walls. Make sure your roller has enough paint on it and you are not rolling it dry. Don’t over fill with paint either. You need to apply the right amount of it if you want to get the best results. Leave it to dry and have a cup of tea. You have earned it.
Step 3. More filling and sanding.
Repeat steps 1 and 2 and have another cup of tea 😊
Step 4. Painting.
By now, you should be happy with the quality of the surface if you have done it right. Remove any left over paint from your scuttle and replace with the clean scuttle liner. Pour some of your finishing paint and start painting. Just like with mist coating, start with cutting in the top parts using the brush and work your way down. Start rolling when cutting in is completed. Leave to dry once rolling is completed and you are happy with how it looks. In worst case scenario, you can sand it all down again when it’s dry and redo this step again. It needs to be fully dry, or the paint surface will crack like a spider web if you apply too much paint in too short space of time. Don’t forget to pour back any left over paint, so it doesn’t get flaky, replace the scuttle liner and leave ready for next coat. Cover your roller tight with the plastic bag or plastic furniture/floor protector, so it does not dry out. Wash your paint brushes and your hands or arms if you were messy, maybe even your face 😊 Have a cup of tea or go and order your pizza. It will take a while before you can apply another coat. Follow the instructions on the paint can where it says about drying times. It’s very important.
Step 5. More Painting.
Sand down any imperfections using fine grade sandpaper. Repeat step 4. Simple!
Step 6. Inspection.
Once everything is dry, check if the colour on the walls is consistent, no difference between cutting in and rolling is visible. If the walls are still patchy, repeat step 5 again. Could not be simpler 😊
Step 7. Cleaning.
Remove any masking tape and clean any paint marks using a sponge or a cloth with warm water. Remove floor protection and hoover up. Move the furniture back and rehang your blinds or curtains. Now stand back and admire! Get your friends around and show off your skills! Congrats, you saved yourself a lot of money and made someone like us unemployed 😊
Written by LGC Decorators Ltd – Professional painters and decorators in London.